
Integrating databases is a foundational aspect of developing robust applications with Oracle Application Express (APEX). This guide offers a thorough exploration of how to seamlessly integrate various databases into your Oracle APEX projects, ensuring data consistency and enhancing functionality.
Understanding Database Integration in Oracle APEX
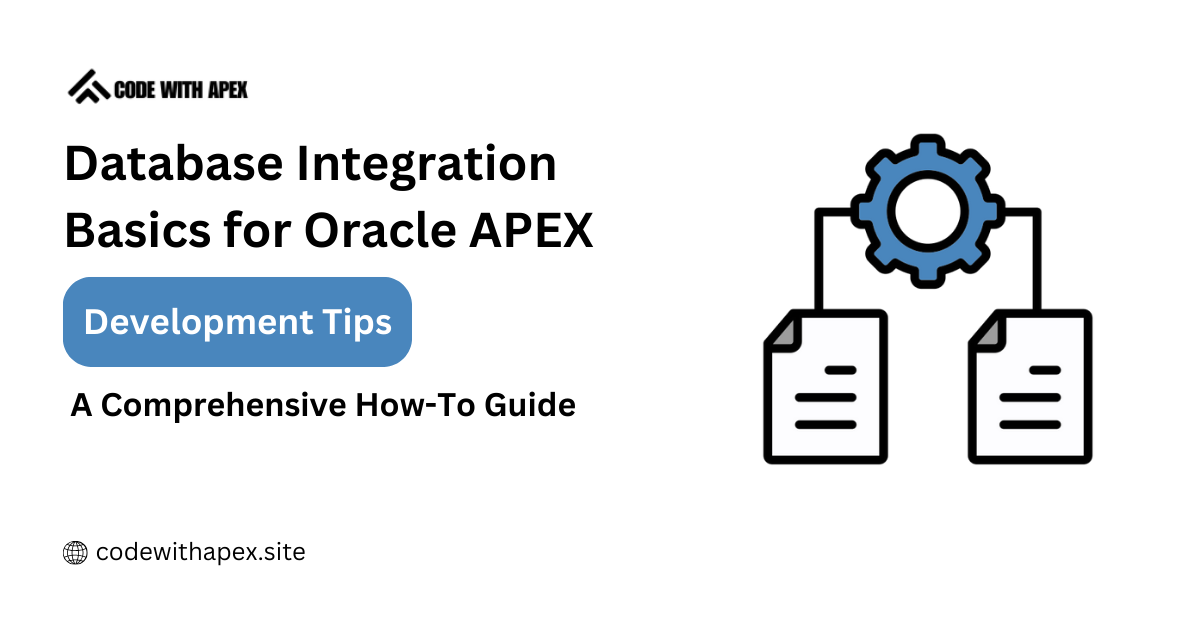
Oracle APEX is a powerful tool that allows developers to create data-driven applications quickly and efficiently. By integrating multiple databases, you can leverage diverse data sources to enrich your applications, providing users with enhanced interactive experiences and more dynamic content.
Step 1: Choose the Right Database
Selecting the appropriate database to integrate with your Oracle APEX application is crucial. Consider the following:
- Data Requirements: Assess the type of data you will handle. Oracle Database is a popular choice for APEX applications, but you might also integrate SQL Server, MySQL, or even NoSQL databases depending on your needs.
- Scalability and Performance: Ensure that the database can handle your expected load and performance requirements.
Step 2: Establishing Database Connections
Oracle APEX facilitates database connections through straightforward configuration settings. Here’s how to set up a database connection:
- Navigate to Shared Components: From your Oracle APEX workspace, access the Shared Components section.
- Create New Database Link: Define the database link by specifying the connection details such as hostname, database name, username, and password.
Step 3: Use RESTful Services for Integration
For databases that support RESTful services, Oracle APEX can integrate via web services:
- Set Up RESTful Services: Define the endpoints and map out the CRUD (Create, Read, Update, Delete) operations.
- Implement RESTful APIs: Utilize Oracle APEX’s native support for RESTful APIs to connect to the database and perform data operations.
Step 4: Data Synchronization
Ensuring that data remains consistent across integrated databases is critical:
- Scheduled Jobs: Use Oracle APEX’s ability to create scheduled jobs to synchronize data at regular intervals.
- Trigger-Based Synchronization: Set up database triggers to automatically update data across systems in real-time.
Step 5: Security Considerations
When integrating databases, security must be a top priority:
- Use Encrypted Connections: Always use SSL/TLS to encrypt data transmitted between your Oracle APEX application and the database.
- Access Controls: Implement strict access controls and authentication mechanisms to safeguard your data.
Step 6: Testing and Validation
Before going live, thoroughly test the database integration:
- Test Data Flows: Ensure that data flows correctly between the integrated databases and your Oracle APEX application.
- Load Testing: Perform load testing to verify that the system can handle the projected traffic without performance degradation.
Step 7: Deployment and Monitoring
Once tested, deploy the integration and set up monitoring:
- Deployment: Follow best practices for deployment to transition smoothly from a test environment to production.
- Monitoring Tools: Utilize monitoring tools to track the performance of your integrated databases and address any issues proactively.
Conclusion
Integrating databases with Oracle APEX opens up a plethora of opportunities to enhance your applications by leveraging diverse data sources. By following these steps, you can ensure a successful integration that boosts your application’s functionality and performance.
For further reading and to get started with Oracle APEX, refer back to our detailed post on “Building Your First App on Oracle APEX”, which provides foundational insights into application development with APEX.
Stay tuned for more advanced guides and updates to elevate your Oracle APEX development skills!